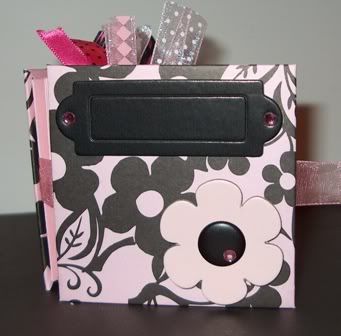
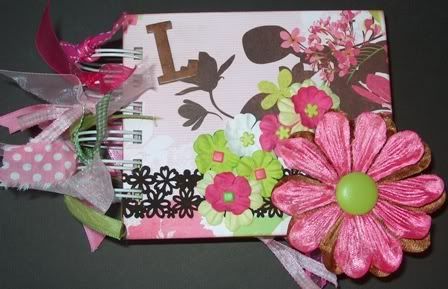
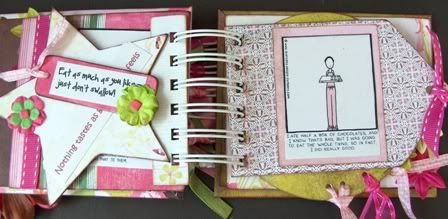
I have been asked how I made the ATC secret keepers so have put together some pretty bad photos (sorry) and instructions on how I made them. So here goes....

The sizes are all ATC size therefore 2.5 inches by 3.5 inches. Cut two blank ATCs from your cardstock and you will need a third piece for cutting up and the inner section. Decorate the front of your ATC and remember when doing this that you are going to cut it across the middle so its not a good idea to have a face or something else that will look plain weird cut in half. Cut two narrow strips about 4" long from the offcut about the width of your wider DST tape.

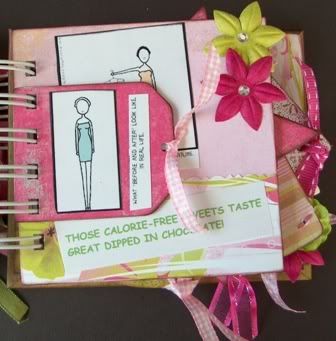
Put your 2 ATCs face down on your cutting board and mark the centre and then using your craft knife cut through both pieces together... this is important, you want the cuts to be in exactly the same place on both because this means it will close up without any gaps later.

Turn them back over check that the pieces will go back together nicely.

Now turn the decorated two halves face down, leaving the back two halves face up and it may help you to mark them left and right (take it from me, if you attach the wrong halves together you will regret it unless your measurement and cutting have the accuracy of a brain surgeon).

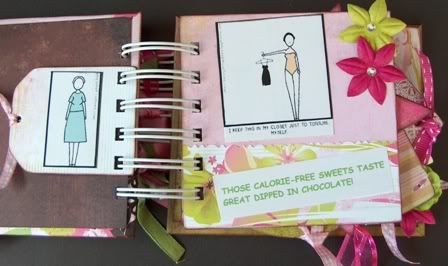
Cut up the strips to edge the keeper and allow space for your insert. DST them into place and then add DST to the tops.

OK - uploading pics in the correct order is obviously not one of my strong points so this photo should be before the previous one... just checking to see if you are still awake and taking notice ;)

Measure the inside gap of your keeper and cut a piece of cardstock the length and width of the gap. Mark the small cut outs each side and remove them.

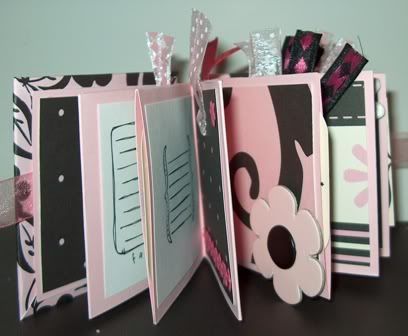
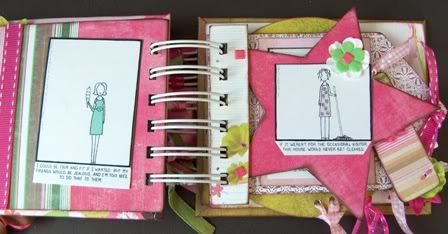
So now you have your inner section ready to fit inside your keeper so go ahead and decorate it remembering that you will only see about an inch and a half of the centre peice.

I have embossed the word FRIEND in the section that will be viewable. Now place this facedown into your space in the keeper so that it is facing the same way as your decorated ATC front. Remove all your DST plastic and very carefully place the backs over and press down. I cannot say enough... the lining up bit of this will really make the difference to how the front lines up so accuracy and faffing before you press it into place will be rewarded!!

Turn it over and slide the 2 halves apart and be chuffed to bits - you got a secret keeper!!
Hope these instructions have been of some help. Have fun!!

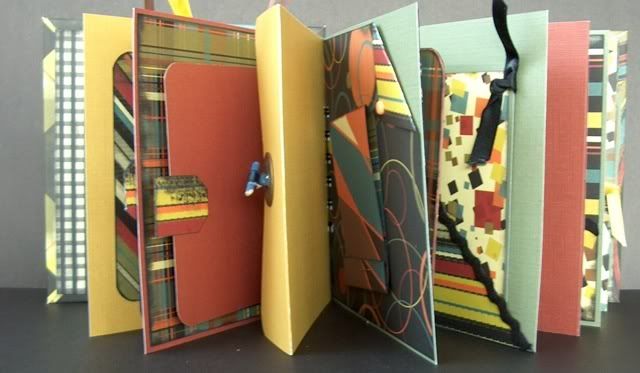
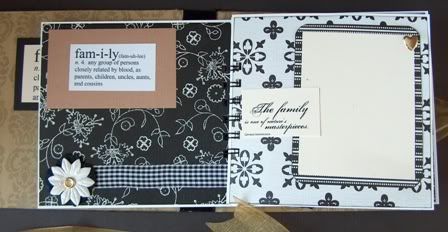
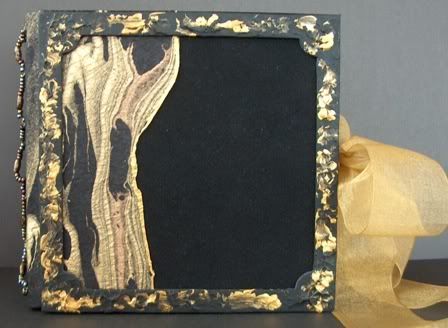 This is my version of the BIA swap project with an accent of gold. Used a frame for the front cover and painted it with black acrylic paint with touches of gold, used black velvet paper with a lovely gold and black mixure of hand made paper.
 Added a string of beads down the covered spine for some additional glamour!
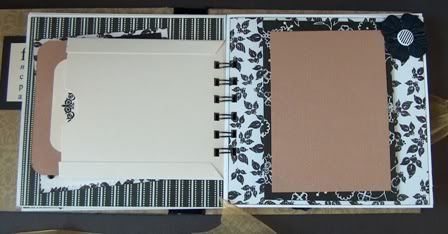


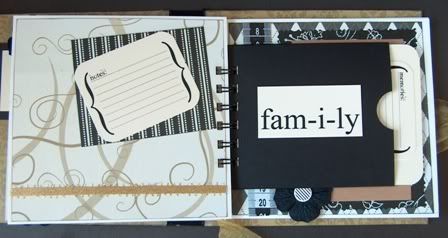
 Hope the recipient likes it!!